4 min read
Cloud EPM Planning Financials Series – Key Features
The financial module within Oracle Planning and Budgeting Cloud (PBCS), is one of the most important modules from the planning and budgeting perspective as it enables you to use pre-defined dimension structure, data forms, dashboards, and calculation rules to generate out-of-the-box Balance sheets, Income Statement and Cash Flow. In addition, it also allows for out-of-the-box Revenue and Expense analysis based on the account drivers selected.
This post covers five topics:
- Creating PBCS application
- Enabling Financial features
- Include company’s COA into Financials Account dimension
- Loading Data into Financials cube
- PBCS Financials Rule
#1 PBCS application creation on Oracle EPM Standard Service
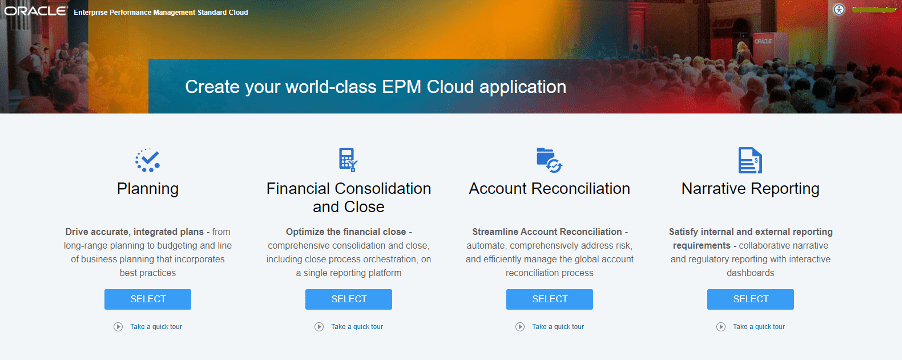
Select Planning to create a PBCS application.
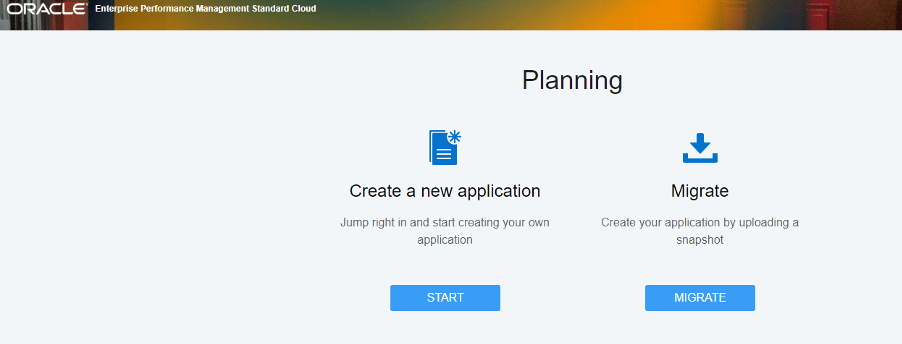
Select Start creates a new application. Note that Migrate option is provided in case you want to create a new application from a previous backup.
Enter a name and description for the application.

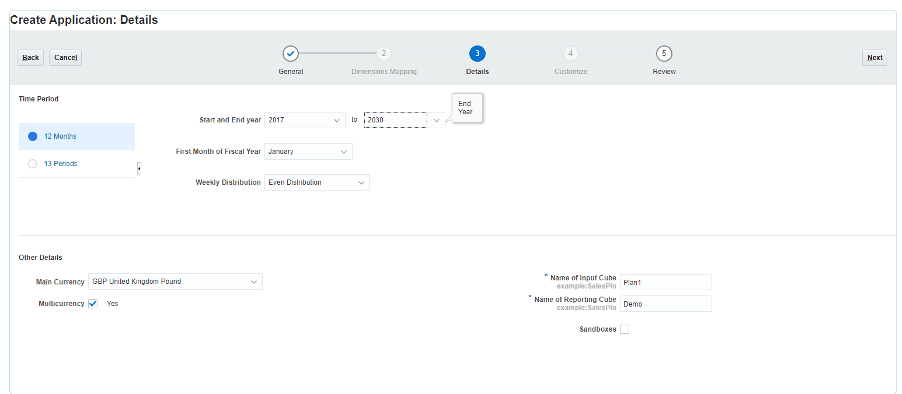
Enter application details like start and end year(you can add more years at a later stage but cannot modify the start year of an application) main currency and enable Multicurrency if needed (This needs to be enabled during application creation if currency translations are required). Enabling this creates a default currency dimension and Rates members under the Account dimension.
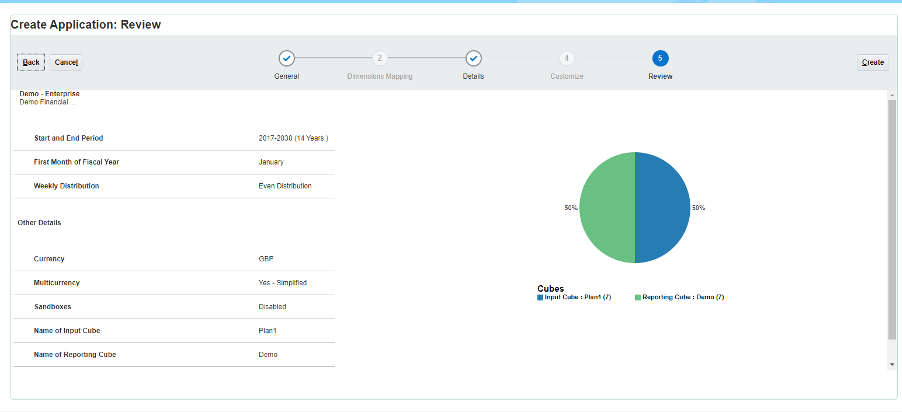
Review your application features and select Create.

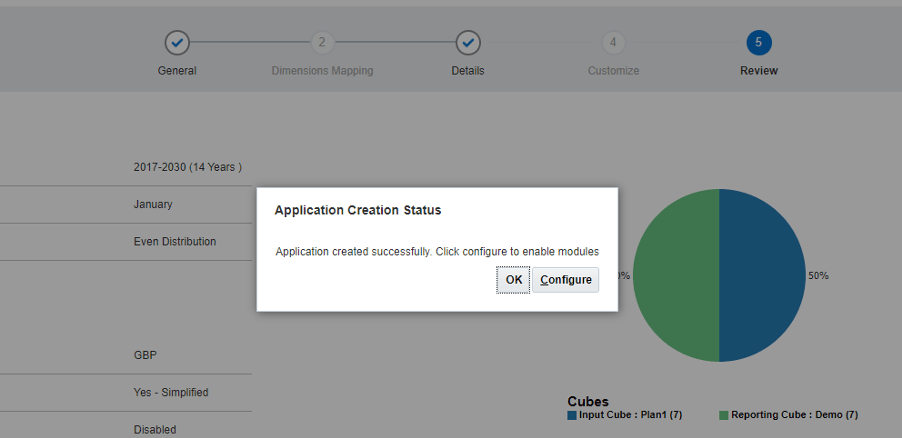
Click OK to view the application or Configure to start enabling PBCS modules.
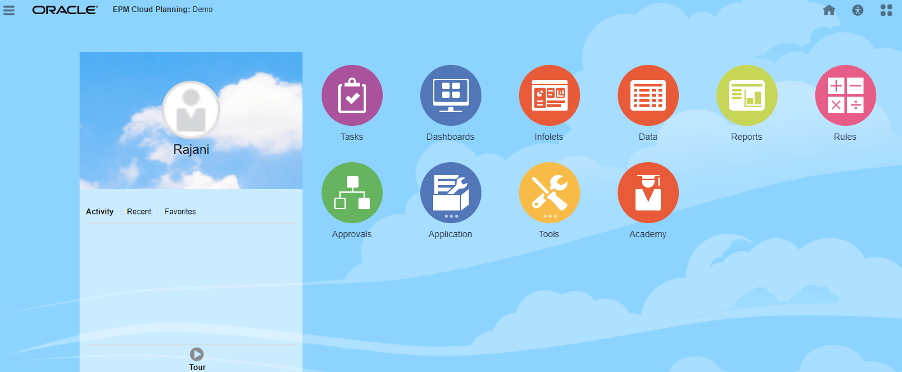
Before I enable Financials modules, let’s have a look at what our application currently looks like – Application Homepage –
Application Overview:
- 0 Tasks, 1 Data entry form, 0 Rules, and 0 Approval units.
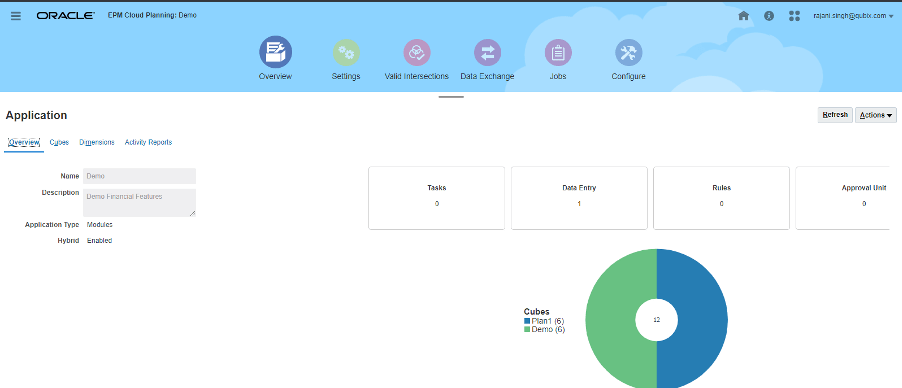
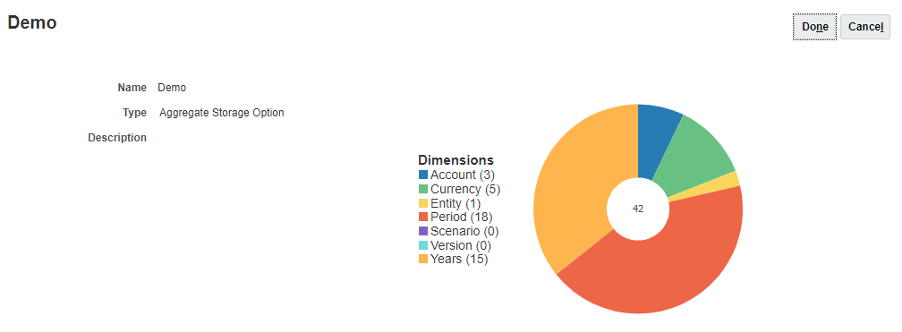
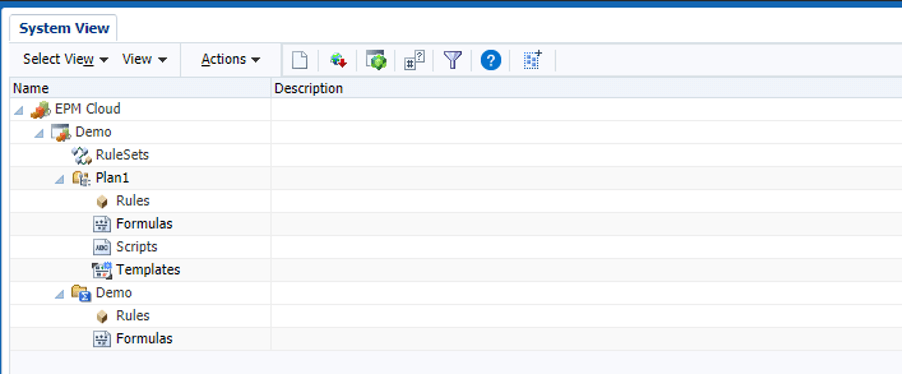
- Two database cubes were created, Plan1(BSO) for data entry and Demo (ASO) as the Reporting cube. These were named during the application creation process.

- Plan1 dimensions
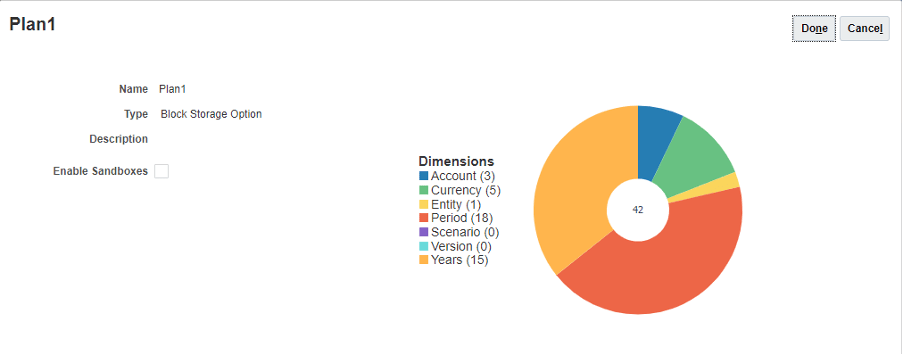
- Demo dimensions
- Data Forms – Only the Exchange rate form is generated. This form is generated as we enabled Multicurrency for our application.

- Rules page – No rules are generated by default.

Similarly, there is nothing created on the Dashboard, Infolets, Reports, etc.
Let’s have a look at the Account dimension members created.
Exchange rate members are the only members created. These members were created cause the Multicurrency option was enabled.

As you can see on the Create and Manage rules page, no rules are created.
Now, we will move to enable the Financials features.
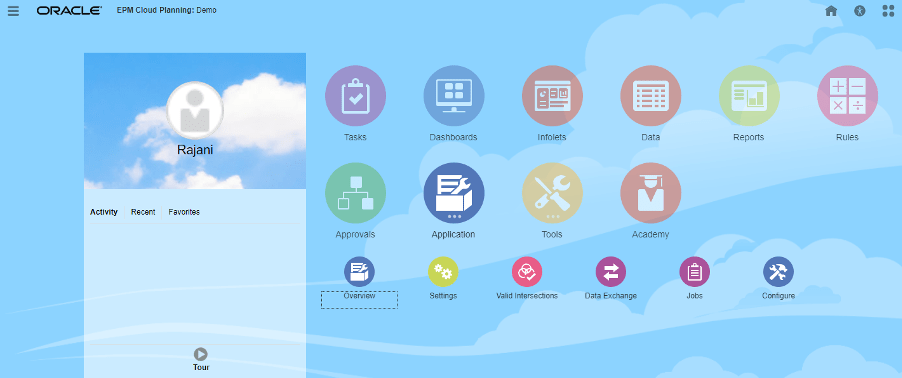
Go to Application > Configure.
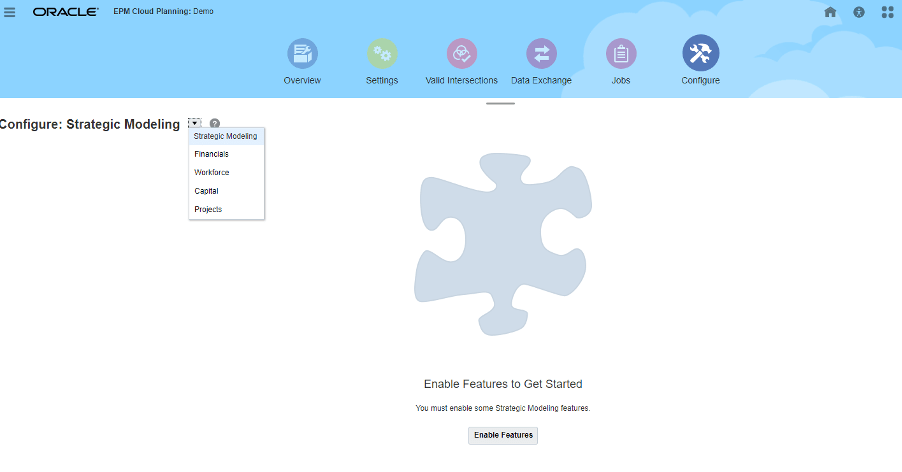
Select Financials from the drop-down and select Enable.
I will enable all features and I am choosing not to enable Accounts and Drivers. This is so that I can use my company’s COA, once a basic Dimension structure is created.
Each of these features, when enabled creates a rollup under the Account dimension.
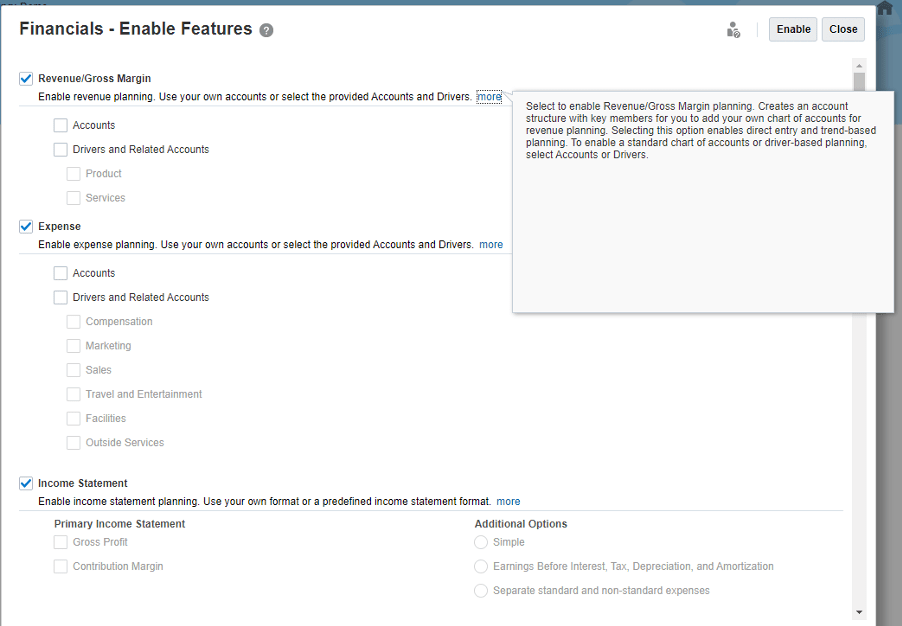
I am choosing to enable CashFlow with the Indirect method and categorising it as Operating, Investing, and Financing activities.
I am not enabling Rolling Forecast and weekly planning.
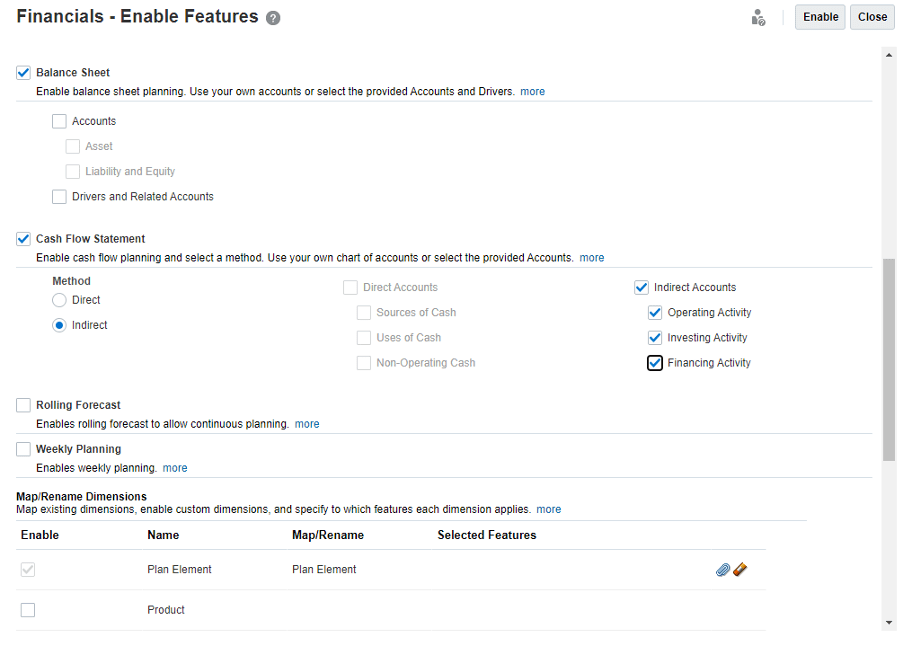
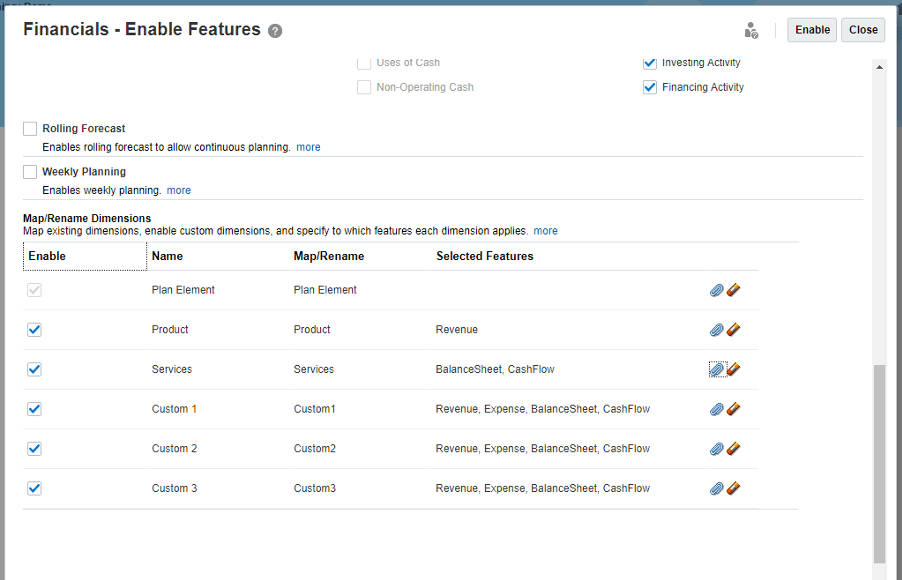
Enabling Custom dimensions: Plan Element is the default dimension created once you enable any module within PBCS. Additionally, you can enable Products, Services, and 3 more Custom dimensions.
You must enable all the Custom dimensions that you need in your Financial modules when you first enable the Financials features. Adding a Custom dimension later is not permitted.
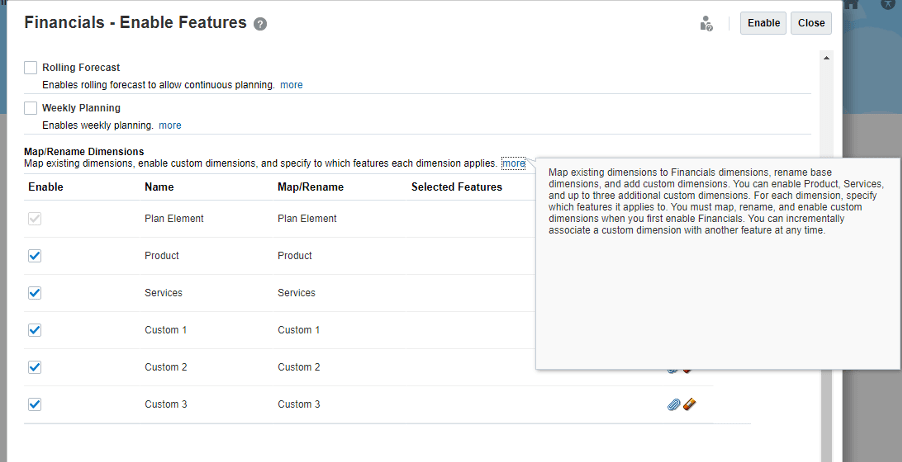
Here you also have the flexibility to Rename custom dimension names and select specific custom dimensions for specific features within the Financials module. For example, the Product dimension may be relevant only for Revenue planning so it can be enabled only for that.
To Rename dimensions and enable features click on the attachment link highlighted below.
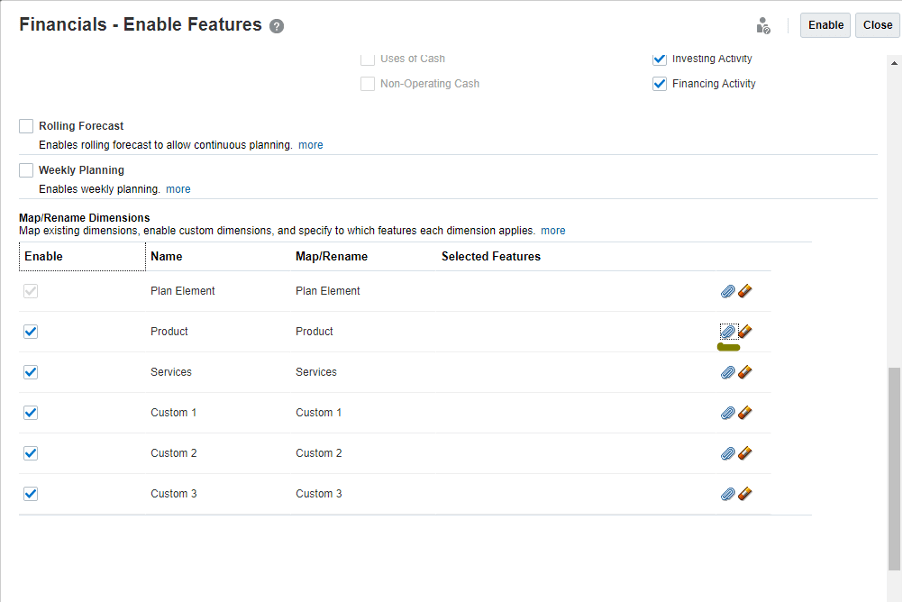
Once you click on that you will see a window like below, I will enable the Product dimension for the Revenue sub-module.
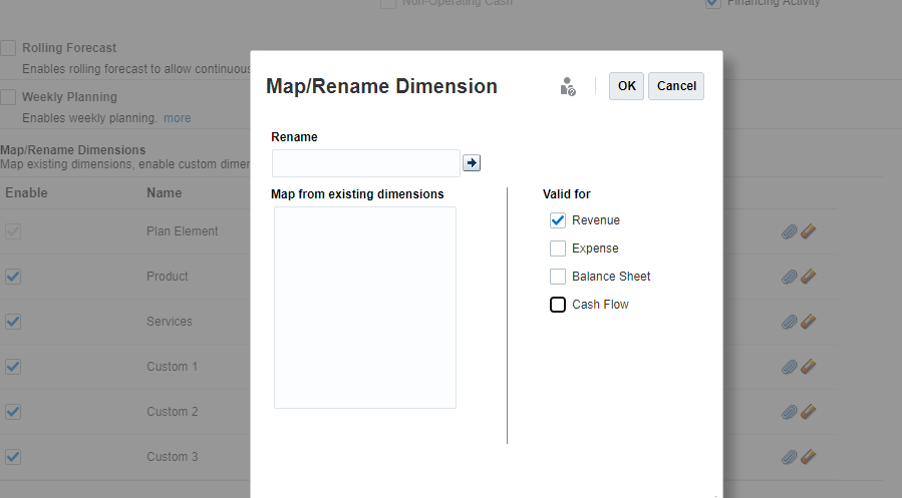
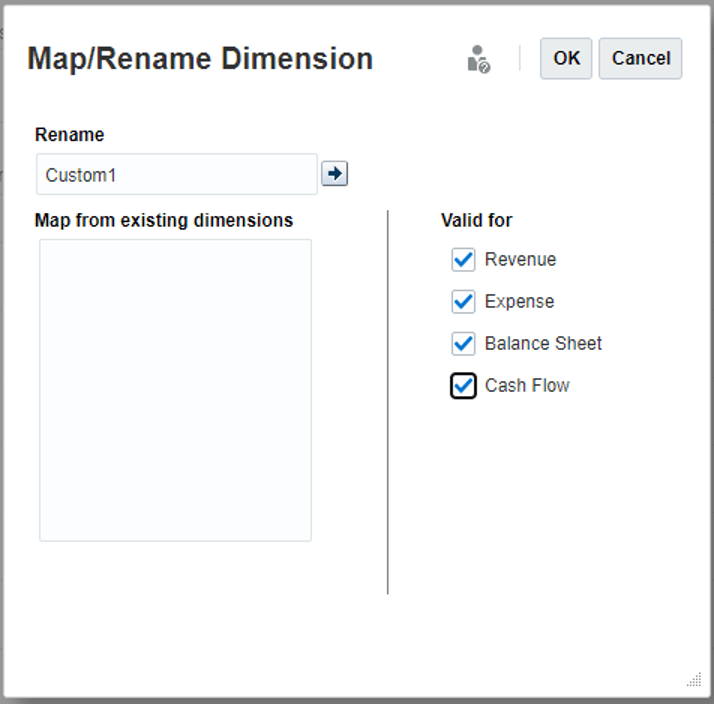
I will also rename Custom 1, Custom 2, and Custom 3 dimension names to remove space in the name. Below I have renamed Custom 1 to Custom1 and enabled it for Revenue, Expense, Balance Sheet, and Cash Flow.
Renaming of Custom dimensions must be done when the Financials feature is first enabled.
Sub-modules like Revenue, Expense, Balance Sheet, and Cash Flow can be enabled incrementally later.
Once Custom dimensions are mapped/renamed, click enable to Enable selected features under the Financials module.
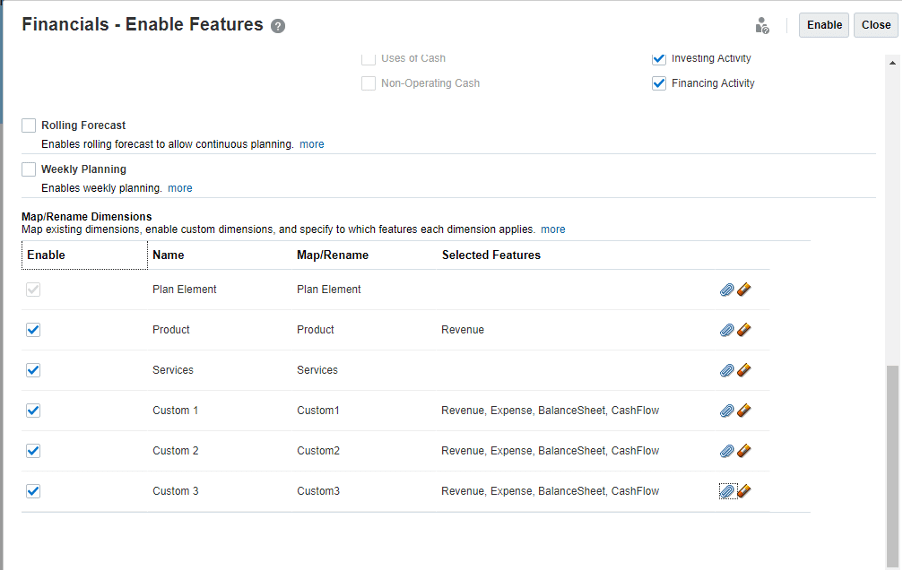
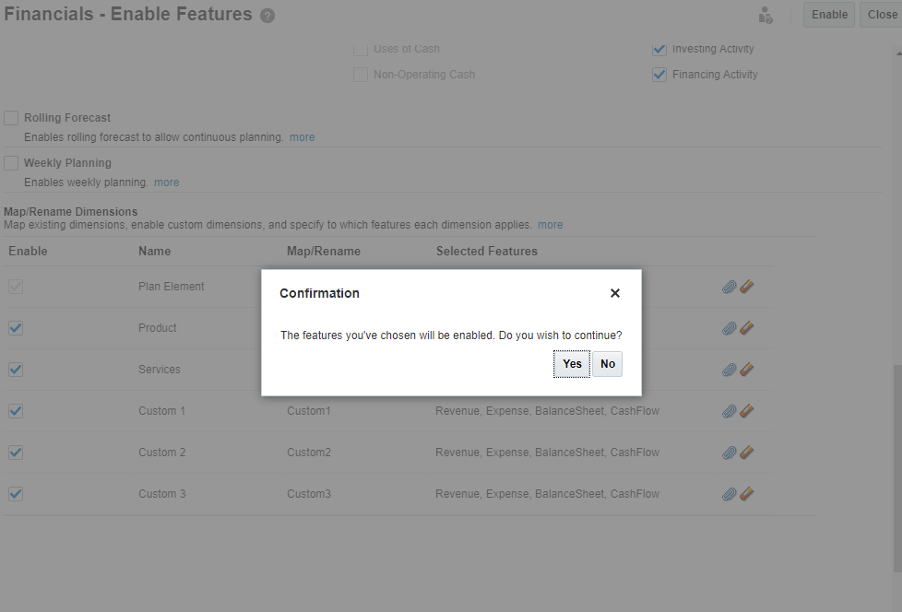
The error message in the below screenshot reminds me to enable at least one feature for custom dimension Services.

I am now enabling Services for Balance Sheet and Cash Flow.
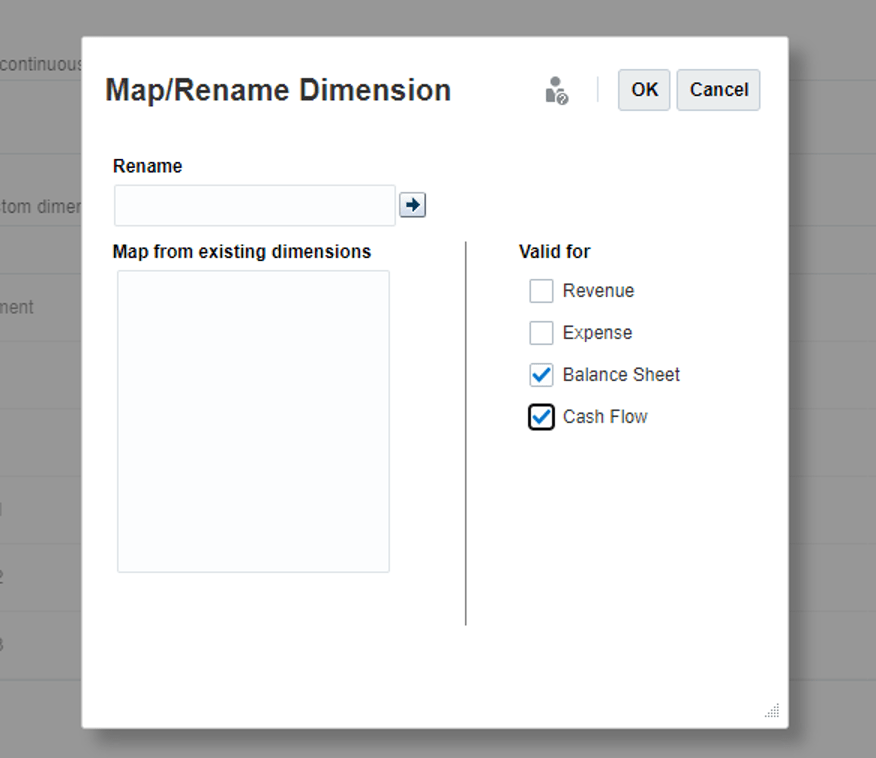
Once done select Enable.
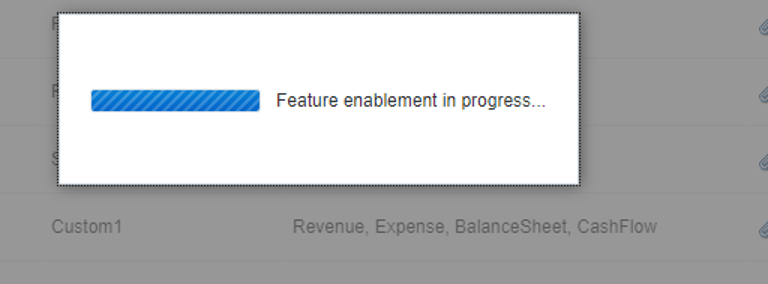
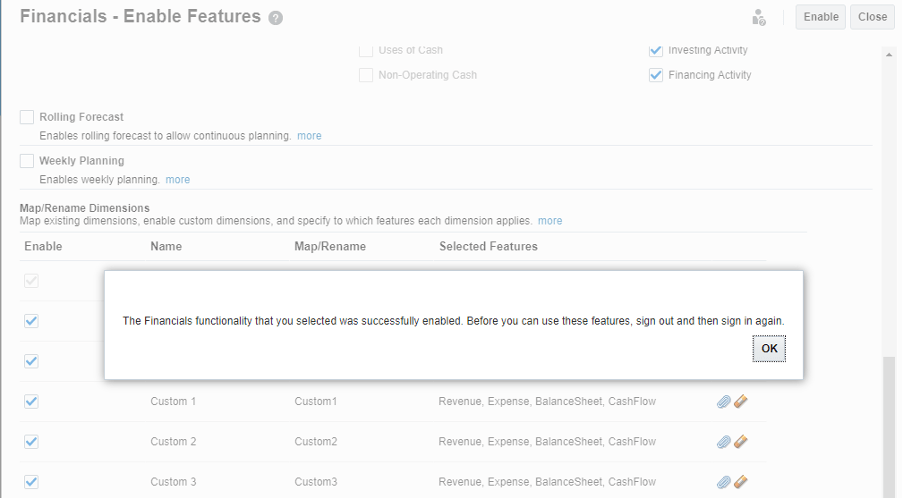
Log off and log back in and you can see the Financial module on the Homepage.
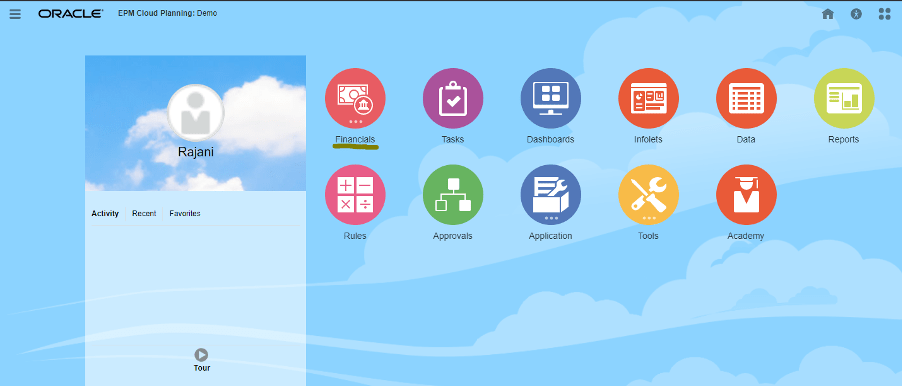
Review Financial Module features
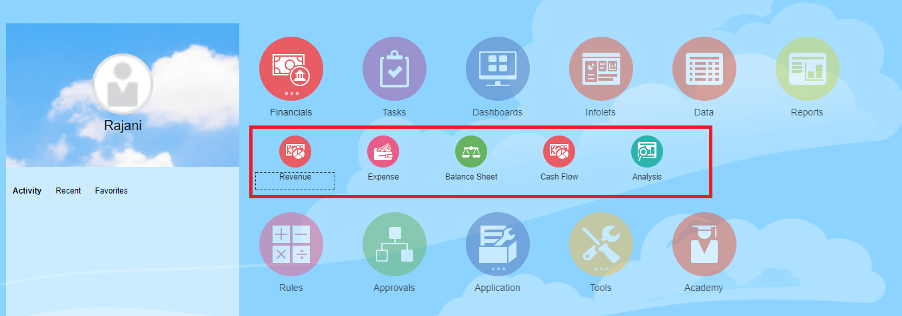
All the Financial sub-modules enabled are displayed under the Financials tile.
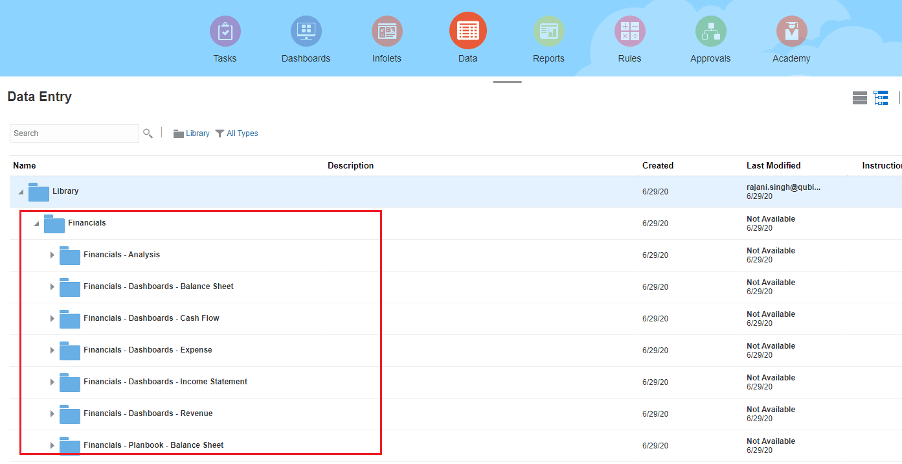
Similarly, you can see dashboards and data forms created for the Financials module.
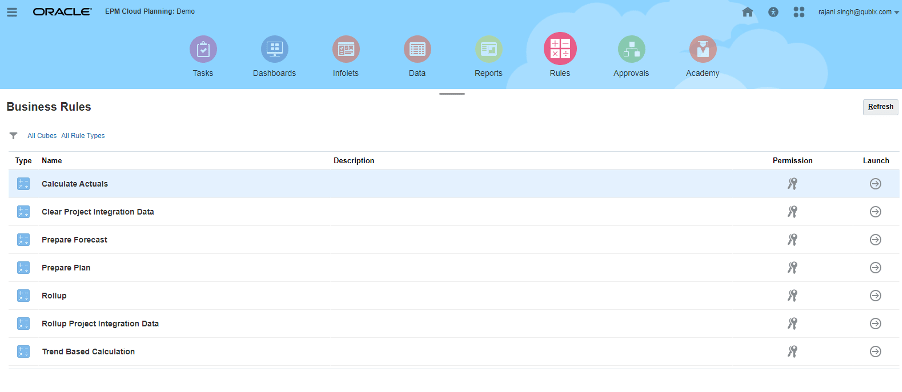
Under the Rules tile, you can see out-of-box rules generated for the Financial module.
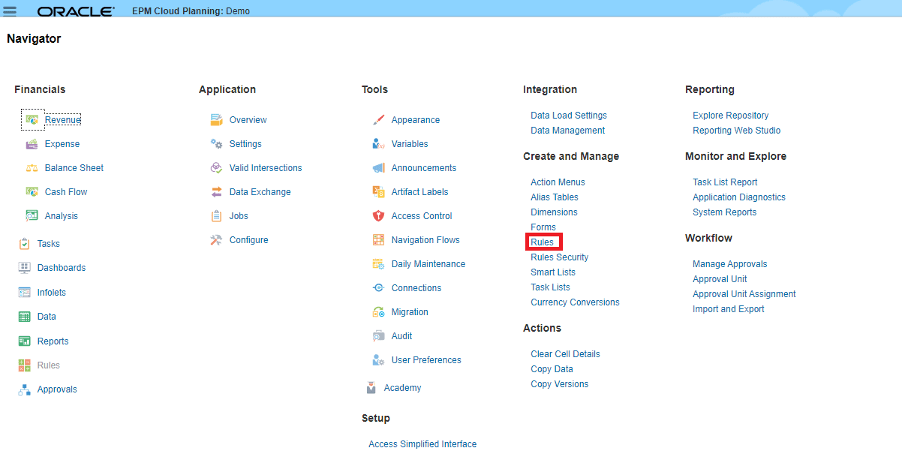
Details for each rule can be viewed by opening the Calculation Manager. You can also create custom rules in the Calculation Manager. To open Calculation Manager go to Navigator > Create and Manage > Rules.
This opens the Calculation Manager in a new pop-up window so pop-ups must be unblocked to open this.
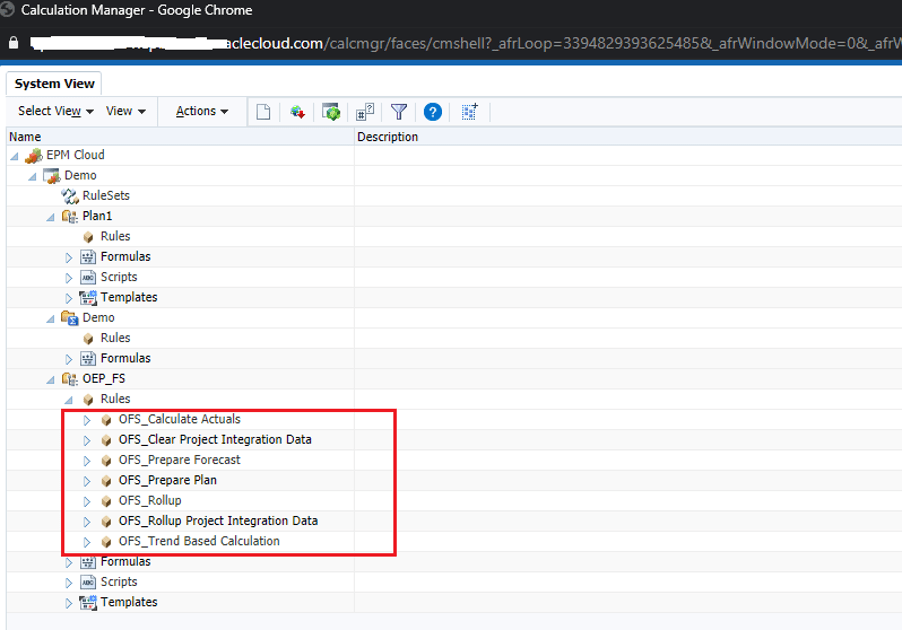
All the rules created for the Financials module are displayed under OEP_FS plan type. You can open each rule in designer or script mode.
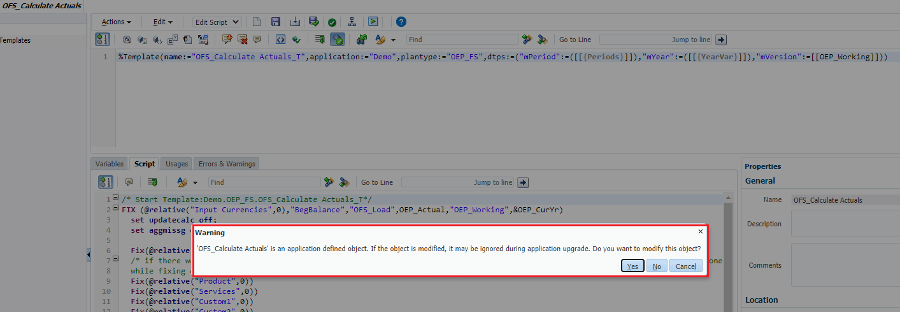
You can edit the script if you would like but these changes are ignored during application.
Financials out-of-box chart of accounts.
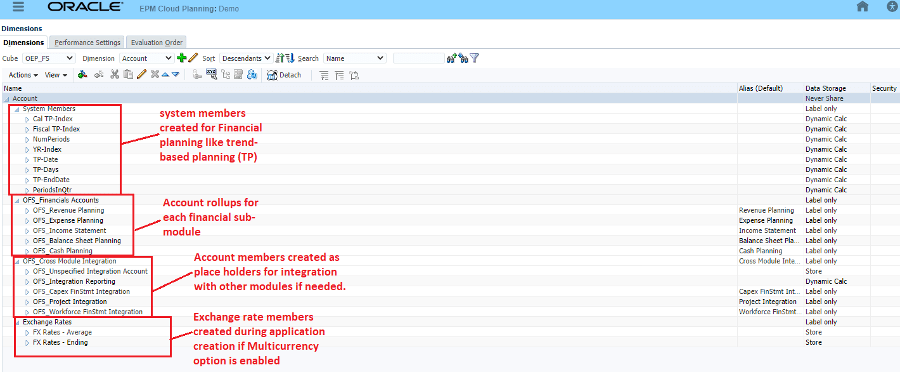
In continuation to this post, we will look at topic #2 default account members created for each sub-module and adding new COA members.